In the modern classroom, many students ask how to study effectively. They don’t want to waste time with ineffective methods. When you have to learn something new, it’s a great idea to look at the best way to learn the topic rapidly, with good retention. Capture the big picture and then drill your way down to the specifics.
When you know the concept and structure in your area of interest it can help you divide a large area of study into manageable chunks. Let’s take a look at how to study effectively by using some free printable study tools that can make your study time more productive. These in conjunction with some helpful study tips and techniques will help you take better notes, get better grades, and do better on tests.
1. Capture Information
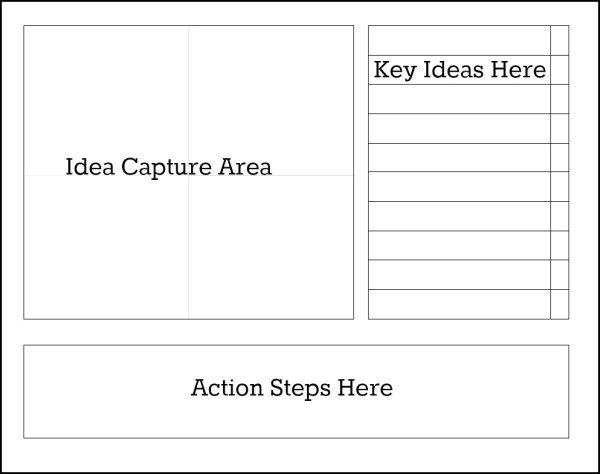
When gathering information, it’s good to capture ideas, keywords and action steps in one area. To do this, I’ve created visual/keyword data acquisition sheets. These allow you to visualize ideas as well as capture keywords, ideas, and action steps. If you are in a lecture, webinar, or other general sessions, start with a general capture sheet like the one below.
Big Picture Worksheet
This sheet has a large visual area, with some fine cross hairs to visually capture ideas. You can use the whole area, or divide it into smaller chunks. As key ideas are presented, enter text or keywords on the side. There is a check box next to each where you can check off items as they are completed. Possible action steps go at the bottom. There are two different sheets in our free download. One has a blank box at the bottom for action items, the other has a ruled area. Print the one that suits you best.
Idea Capture Worksheet PDF: Free Download
Idea Capture Worksheet W Lines PDF: Free Download
Brainstorm Worksheet
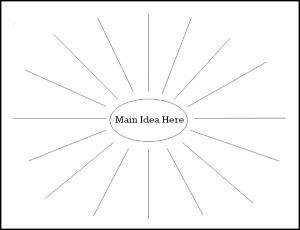
This classic brainstorm wheel works well with a small group or in a meeting session. It’s simple to use. Write down your question/topic in the center circle, set a time period of one minute, and go around the room getting responses from everybody. Write down the responses on the end of the lines. This works well to develop key ideas for the Big Picture Worksheet above.
If you have a group, have one person as the moderator and writer so the ideas will flow unrestricted. Set a rule that there are no wrong answers. Sometimes the crazy ideas are what really work. If you are using it alone, set the timer for no more than two minutes and capture everything that comes to mind. There are no wrong answers at this stage.
2. Cornell Note Taking
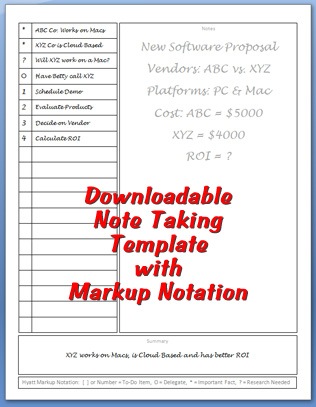
For informational meetings or seminars, the Cornell method provides a systematic way to condense and organize notes. The Note Taking Worksheet is divided into two columns: the note-taking column (on the right) is twice the size of the questions/key word column (on the left). There is a space of five to seven lines, at the bottom of the page for your summary.
Notes from a lecture or class are written in the note-taking column consisting of the main ideas of the session. Extensive ideas are paraphrased. Create short sentences; symbols or abbreviations are used as shorthand. For future study, relevant questions or key words are written in the key word column. These notes can be taken from any source of information, such as applicable books, video, lectures, text books, etc. (These should be recorded as soon as possible so that they will be fresh in the student’s mind)
Within a day of taking the notes, the student should revise and write questions and then write an overview in the summary at the bottom of the page. This helps to increase comprehension of the topic. When studying for either a test or quiz, the student has a concise but detailed and relevant record of the material. I’ve taken the basic Cornell idea and expanded on it. For this Note Taking Worksheet, I’ve added markup notation which is listed at the bottom of the document for easy reference.
Tips for Note Taking:
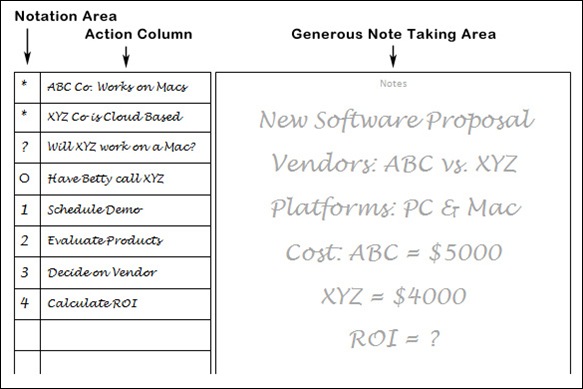
To add this notation to the template, I added a markup column to the left side of the document followed by an action column. Adding a special notation character followed by a specific action lets you take these notes back to your desk or office and act on them in an organized fashion. Here is an example…
The Markup Notation consists of
- [ ] A square check box denotes a to-do item
- ( ) A circle indicates a task to be assigned to someone else
- * An asterisk is an important fact
- ? A question mark goes next to items to research or ask about
At the bottom of the document is a summary area, where you summarize your action steps and come to a conclusion. Writing this in the summary box gives you a complete project roundup which can be filed away or three hole punched and kept in a notebook for further reference.
Cornell Style Note Taking Worksheets
3. Create a Daily Study Guide
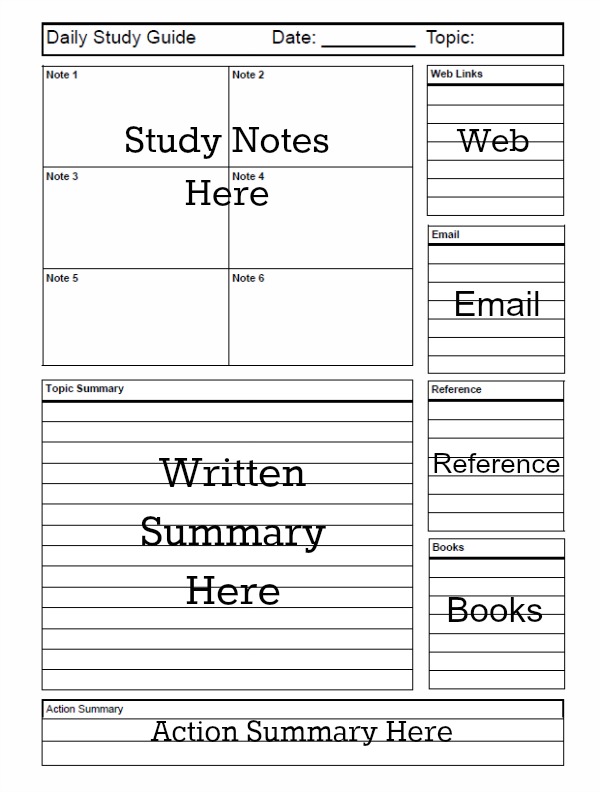
Now that you have captured ideas and taken extensive notes, it can be helpful to create a daily study guide. This allows you to create action steps, record links to web sites, make phone calls and pick up any reference books or materials as needed. Here is what it looks like.
When you are actively working on a project, our daily study guide can help you summarize multiple notes into one concise document. Built around our daily planner, the boxes have been modified to accept study notes. This make s a great follow up to our Cornell style note taker.
4. How To Concentrate
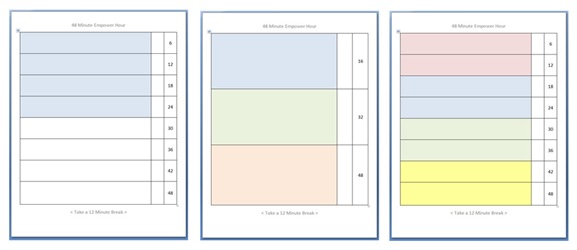
Now that you have your notes collected, sorted out, and action items written it’s time to concentrate. The best way to do this is to implement our 48-minute focused time system.
Simply this is a way to divide an hour up 80/20. You block out all distractions and do one task for 48 minutes and then take a 12-minute break. Repeat as necessary. The beauty of it is its simplicity.
Using this single-tasking idea you can get a lot more studying done in a shorter amount of time. By turning off distractions including your e-mail, phone, and any browsers you may have open, you simply set a timer for 48 minutes and begin.
The really cool thing about a 48 minute period is that it can be divided in many different ways. You can do two projects in that time at 24 minutes each, three projects at 16 minutes, four projects at 12 minutes and eight projects at 6 minutes. The 48-minute worksheets allow you to plot individual study ideas or sessions into separate time periods.
How to Study Effectively:
Combining worksheets can allow you to capture notes, information and understand the big picture. Be sure to download and use our free note taking worksheets for your next project, meeting, or seminar. Learn how to study effectively today.


