As a speaker and trainer, one of my greatest challenges is connecting with my audience. In smaller group settings, I’ve found that having audience members put their names on a reusable tent card offers an easy way to call them by name. This instantly builds rapport and draws everyone into the presentation.
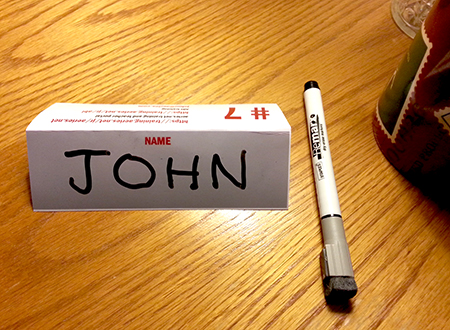
A while back I created a reusable tent card in Photoshop and printed it as a 4 x 6 glossy photo. I put my business information on one side and a gray box on the other. Once folded the audience member would see my info and I could see their name from the front. A win-win. I quickly found that this had the added benefit of being reusable if I used a dry-erase marker on it. Using a chalkboard eraser or damp rag, I can instantly wipe them clean and reuse them for later meetings.
To add further versatility, I printed some in different colors which allowed me to quickly divide up the room for exercises or interaction (blue cards on this side, green cards on the other etc.). For my training sessions, I add a number to the business side, which allows me to have each member login to a different user in my software demo data (user 1, user 2 etc.).
Reusable Tent Card
Today I’d like to share a few cards with you via a free download. These are easily editable via PicMonkey or Picassa and can be printed quickly at your local one-hour photo store (I use Costco).
Here is what they look like.
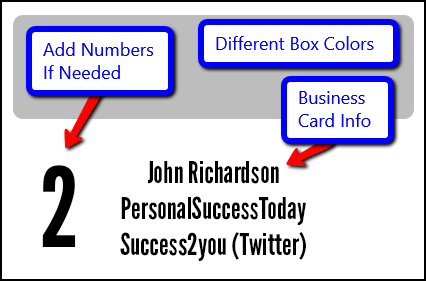
For your convenience, I’ve created cards in five colors and saved them in a zip file. They are sized at 4 x6 inches at 300dpi.

Instructions for use
Download the zip file and extract the reusable tent card folder
Go to Picmonkey.com
Open the card of your choice
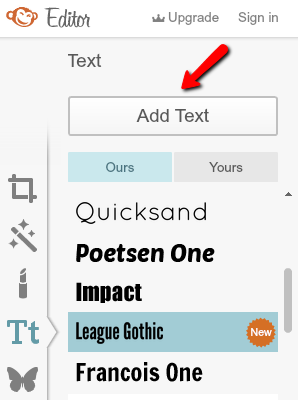
Click on the text icon on the side menu and select a font of your choice.
Click add text
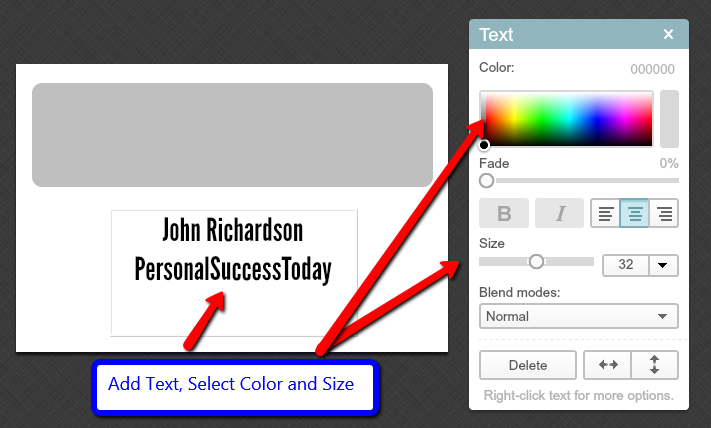
Type in the text you want and select color and size from the menu.
When you are done, save the file with the large file size option
Take your finished jpeg files to your local photo store. Have them printed glossy at 4×6 inches for best results.
Use a Dry Erase Marker to add names to the cards.