Creating a mini one-sheet for your business is a great way to highlight your services to others. In our simple tutorial today, we’ll use Photoshop to create a 4 x 6 inch graphic file at 300 dpi that we can have printed at almost any one hour photo lab. This tutorial requires that you have a recent copy of Photoshop and a basic working knowledge of the program. You can download a trial version of the program here. (Photoshop is a very expensive and complicated program. We’ll look at other alternatives to create files like this later in the week)
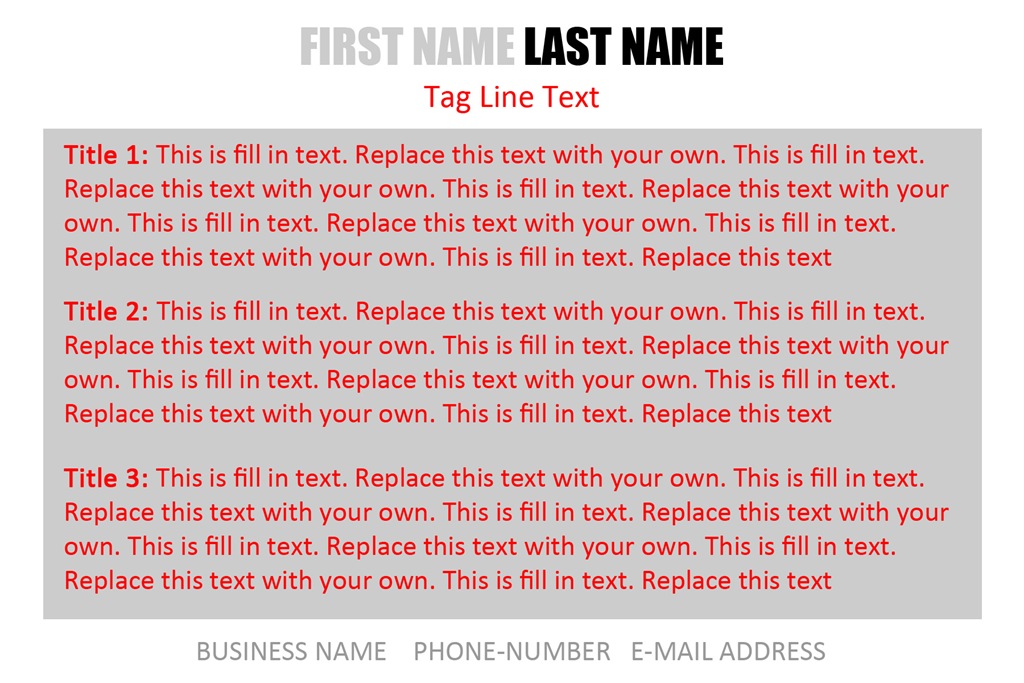
To get started, download our mini-one-sheet template and open it in Photoshop. This is what the psd file looks like.
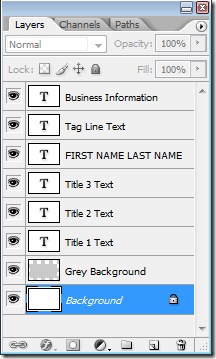
Once you have the template open, look at your layers list. You should see the following.
- To fill out your one-sheet, just double click on the T icon on the text layer you want to edit. This will highlight your text and you can begin editing.
- Replace the generic text with your name at the top and a tag line for your business.
- Fill in your business name, phone number, and e-mail address at the bottom.
- Click on Title Text 1 and add a title along with descriptive text. Use this to describe a benefit or feature of your business. If you are a speaker, use this to describe a speech or presentation that you will give. If you are a writer, use this to describe your book or other publication.
- Continue on with Title Text 2 and 3. Use descriptive titles and highlight the best features of your business or service.
- Once you are done, you may need to realign the text on different layers to center everything depending on the text names that you used.
- Save the file as a PSD with a name that you choose.
- Save the file as a JPEG with an image quality of 12. This will be the file you take with you to have printed. Save this file to a memory stick or CD.
- Most one hour photo printers such as Costco accept picture files on memory cards used it most newer cameras (SD cards etc.) I found that I needed to save the file to an SD card (versus a USB memory stick) to have their machine read it. Most places also accept files via the web or CD.
- Choose your picture(s) that you want to have printed and choose the number of prints. Most machines have a choice of borderless prints. Click this option. You can also choose from Glossy or Matte prints depending on your preference.
- I would suggest that you start with a small quantity to make sure that everything works correctly with your print processor.
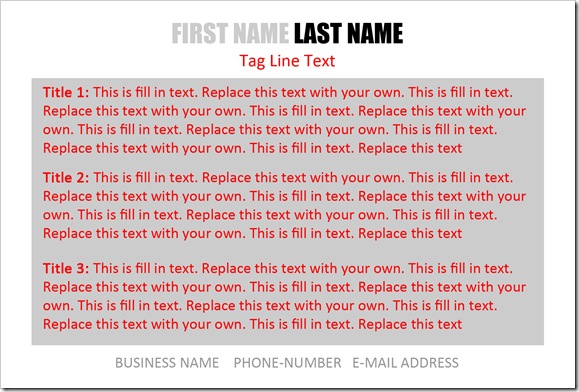
The resulting file should look something like this…
While Photoshop is a great way to produce prints like this, it is a very expensive and complicated program. Tomorrow we’ll look at using Microsoft Publisher to do the same thing. Marsha Melkonian commented that Creative Memories software can also output files like this. This may be another great option if you happen to have that program.
Question: What will you put on your one-sheet?


